


To create high-quality custom DTF Transfers, prepare your workspace with essential materials like cold peel DTF transfers, blank garments, safety gear, and a DTG printer. Stock up on transfer design files, cleaning solutions, and applicator tools for consistent professional results. Keep your work area clean, organized, and well-ventilated to prevent smudges, creases, and imperfections on light or dark fabrics.
Pressing custom DTF (Direct To Fabric) transfers is an art that allows you to create unique designs on a variety of materials. This step-by-step guide will walk you through the entire process, from gathering essential tools and preparing your workspace, to designing and optimizing your custom artwork for DTF printing. We’ll then delve into the application and pressing techniques, ensuring optimal results every time. Get ready to revolutionize your fabric design game with these easy-to-follow instructions on creating stunning Custom DTF Transfers.
- Gathering Materials and Preparing Your Workspace
- – List of essential tools and supplies
- – Setting up a clean and organized work area
Gathering Materials and Preparing Your Workspace
Before you begin pressing your custom DTF (Direct-to-Garment) transfers, it’s essential to gather all necessary materials and prepare a dedicated workspace. Start by acquiring high-quality cold peel DTF transfers designed for optimal printing results. Ensure these transfers are compatible with your DTG printer to guarantee smooth application. Along with the transfers, source suitable blank garments, preferably from natural fabrics like cotton or polyester, as they absorb ink better.
Prepare your workspace by setting up a clean, flat surface where you can lay out your materials. Position your garments, transfers, and any additional tools within easy reach. Ensure proper ventilation since DTG printing involves the use of inks that may emit strong odors. Have all safety precautions in place, including gloves and protective eyewear, to shield yourself from ink exposure during the pressing process.
– List of essential tools and supplies
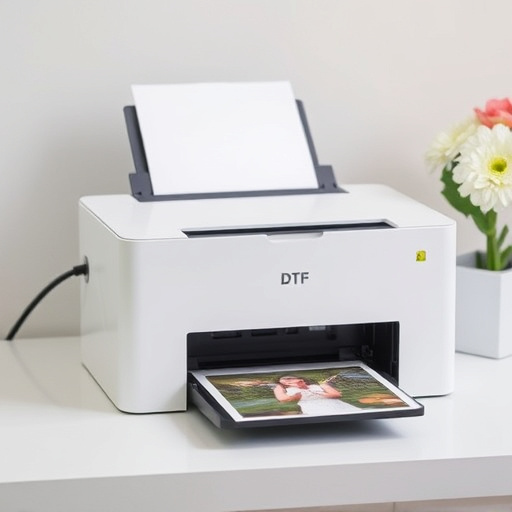
To successfully press custom DTF Transfers, you’ll need a few essential tools and supplies on hand. Start with a DTF printer—a specialized device designed for creating high-quality DTF prints—and a selection of blank transfer films suitable for your project’s material. Don’t forget access to a heat press machine, as this is crucial for the actual pressing process. For the best results, consider investing in a pressure mat and a temperature-controlled press to ensure even application of heat and pressure.
Additionally, gather essential supplies like transfer design files in compatible formats (often .ai, .eps, or .pdf), cleaning solutions specific to your DTF prints‘ material, and a variety of applicator tools for precise placement and smoothing during the pressing process. Having these elements readily available will streamline your workflow and help you achieve professional-looking, custom DTF Transfers every time.
– Setting up a clean and organized work area
Before beginning the process of pressing custom DTF (Direct to Fabric) transfers, it’s essential to prepare a clean and organized work area. This ensures efficiency and accuracy in your project. Start by clearing a flat surface large enough to accommodate your materials—including your printing press or heat press machine, cutting mat, transfer paper, fabric, and any other tools you’ll need. Keep all supplies within easy reach to minimize disruptions during the pressing process.
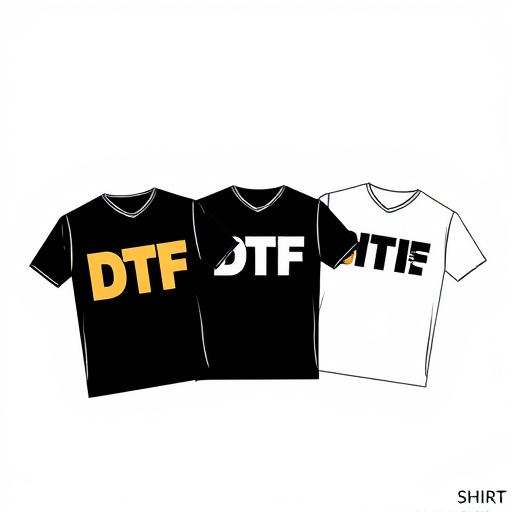
A well-prepared work area is particularly crucial when working with DTF for t-shirts or dtf printing for both light and dark fabrics. Maintaining a clean environment helps prevent smudges, creases, or any other imperfections that could affect the final quality of your transfers. Whether you’re using dtf printing for light fabrics or applying transfers to darker garments, ensuring a neat workspace will streamline the process and yield professional results.
Pressing custom DTF (Direct-to-Fabric) transfers is an art that, with the right tools and techniques, anyone can master. By gathering your essential materials and setting up a clean workspace, you’re already halfway there. With practice, you’ll be able to create high-quality, vibrant custom transfers that enhance your fabric projects. Remember, the key lies in precision, cleanliness, and patience – three elements that will surely lead to successful results. So, get pressing and let your creativity flow!